This guide will help show you how to customise your license plate
I first discovered this through learning how to get simple logos onto the plates, such as the Instagram and Facebook logo. After realising that all the code does is pull the image from the game files, I decided to dig into the files to try and find examples of textures that could be used as a plate background.
I have provided a step-by-step guide which explains in detail two different options of styles you can use as a background for your plate and what each line of the final code means and how it affects the plate, however, if you are after the final code and don't want to spend the time reading through the guide, then skip to Option 1 - Step 6 or Option 2 - Step 4 and copy the final line of code there or choose any of the other options to quickly copy and use.
STEP 1:
First of all, you need to choose the truck/car you want to change the plate of. You can stay in-game for this entire process as you are simply editing a save and then loading a new one up.
Once you have the truck/car you want to use, save the game.
STEP 2:
Access the new game save through the game.sii in Euro Truck Simulator 2/profiles/ProfileNumber/SaveNumber/game.sii
(ProfileNumber and SaveNumber will be different depending on how many game saves you have and the name of your profile.
STEP 3:
Once you have opened your game.sii file, you can search for it two different ways. The best way I find is to search for your truck by using its current license plate which is Option A. However, you can use Option B to search for the truck you are currently using if you do not know the registration or cannot search for it.
Option A: Search by Registration
Option B: Search by Current Truck
STEP 4:
In this step, you can begin choosing which style you are wanting to use for your plate. There are two ways to do this; You can choose either Option 1 or Option 2.
Option 1 is the most customisable way to make your plate by choosing any background colour and text with any country font you would like.
Option 2 provides specific fading coloured backgrounds (Either Black or Blue) with a surrounding border which make the plate look more realistic and will allow you to tint it slightly for a cooler result.
Option 1 - Standard coloured background for basic custom plates
If you do not want to build your code, you can skip to Step 6 and copy the final code
Step 1: Choosing the background colour
To first build how you want your plate to be, you need to start customising values.
To begin, we start by choosing the colour value which has to be written in the format <color value=######>
I have chosen Blue for this example which will be written as the following:
<color value=FFCCA72D>
Step 2: Choosing either with country flag and lettering or without
Once the colour is in place, we need to move onto how we will position the background on top of the plate which has to be written in the format <margin left=##>. The default to have a full coloured plate will be -15, however if you would like your plate to display the country flag and lettering on the side, then use 0 as the value.
I have chosen to have the background cover the entire plate so I will use -15 as the value. Place this text next to the color value text leaving no spaces.
<margin left=-15>
Step 3: Inserting the dimensions of the background so that it fits onto the plate
Now we need to insert the background as an image onto the plate and give it the necessary details to make sure it is aligned properly. To do this, we need to begin the code with <img src= and then link the background along with the relevant code to ensure its aligned properly. To do this we use xscale=stretch yscale=stretch><ret><margin left=0>align hstyle=center vstyle=center> to ensure the background is aligned in the correct position.
This is the full code to use for the background and this needs to then be place after the margin left value leaving no spaces.
<img src=/material/ui/white.mat xscale=stretch yscale=stretch><ret><margin left=0><align hstyle=center vstyle=center>
Step 4: Font Size
You can now choose how big you want your font to be, here are some examples of some sizes:
Font Size 1.0
Font Size 1.1
Font Size 1.2
Font Size 1.3
Font Size 1.4
Font Size 1.5
These are just a few examples, however, feel free to experiment with the x and y scale values if you prefer to have the text stretched out more.
For this example, I will choose 1.2 which will look like this in the code which then needs to be placed after the previous code value leaving no spaces.
<font xscale=1.2 yscale=1.2>
Step 5: Adding Text and Text Colour
Now similar to how we put in the code for our background colour, we now need to define the colour for our plate text. For this example, I've chosen black so this is what I will put into the code
<color value=FF000000>
Once we've decided the colour, we can now put in the text we want our plate to say. Make sure this is after the > on the colour value text
Step 6: Adding the Region Code
To finish off we need to now add the region code in the format |country so that the game knows which font to use from the associated country. As I want the UK plate text, I will use |uk at the end of my code which then can be finished with ending quotation marks.
So this will be our final result:
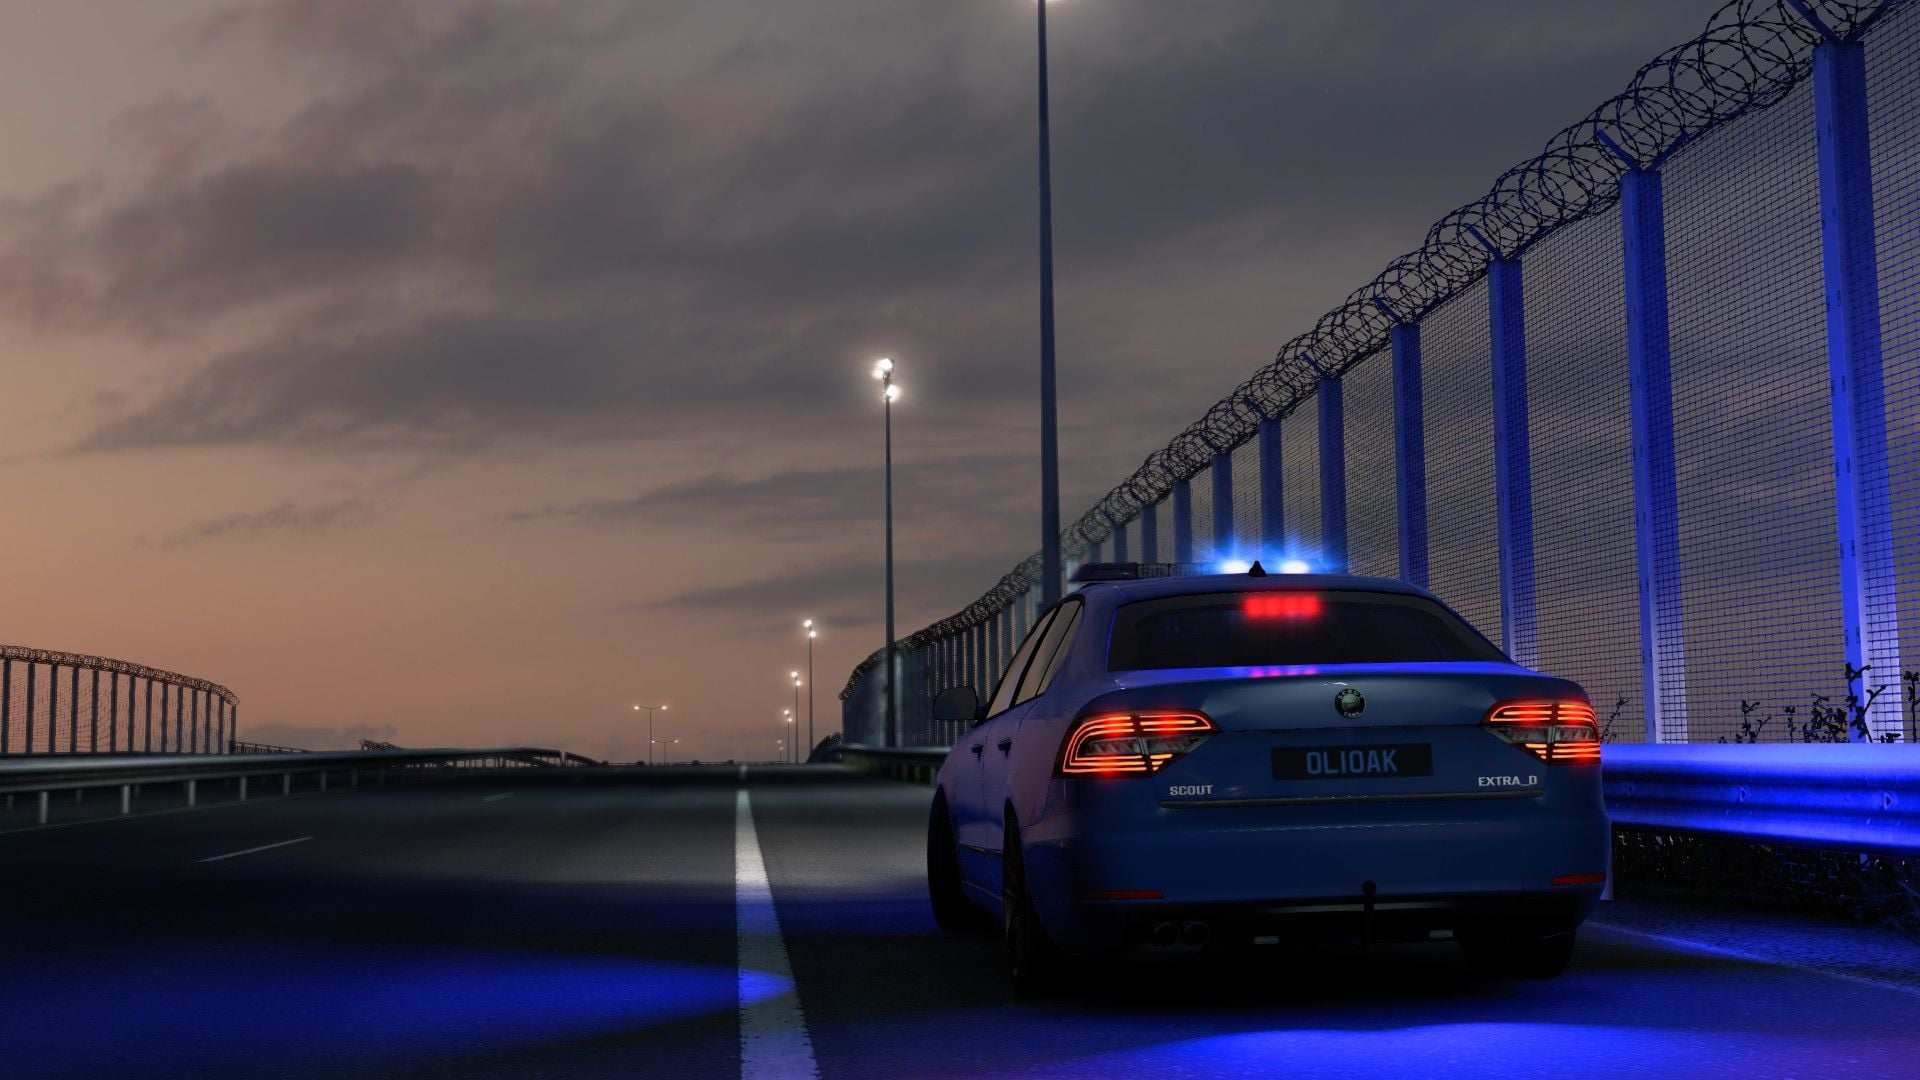
license_plate: "<color value=FFCCA72D><margin left=-15><img src=/material/ui/white.mat xscale=stretch yscale=stretch><ret><margin left=0><align hstyle=center vstyle=center><font xscale=1.2 yscale=1.2><color value=FF000000>OLIOAK|uk"
which will now look like this in-game:
Once you've finished your code and ensured that it is surrounded by quotation marks, save the file and then load the save in-game to see your plate!
Option 2 - Fading background and borders with tint options
If you do not want to build your code, you can skip to Step 4 and copy the final code
Step 1: Choosing the background
From here, you can use this following image path to put the black license plate image onto the plate.
/material/ui/lp/turkey/duty_rear.mat
As it acts like any regular image on a license plate, it needs to include the <img src= at the beginning of it and have > at the end of the code.
You can also then choose whether to have the country flag and lettering on the left hand side of the plate. If you do not want this, put the code listed below before the <img src= code
<margin left=-15>
Step 1a: Choosing the tint (Optional)
Then the outline/tint colour has to be given which is usually White, so the following needs to be placed after the previous code but before the > at the end:
color=FFFFFFFF
This can be changed to any hex code to change the tint of the image
Here are some examples of using different tints on the black background
Blue tinted background with no country flag using Font Size 1.2
Pink tinted background with no country flag using Font Size 0.9
Step 2: Inserting the dimensions of the background so that it fits onto the plate
Now we need to insert the background as an image onto the plate and give it the necessary details to make sure it is aligned properly. To do this, we need to begin the code with <img src= and then link the background along with the relevant code to ensure its aligned properly. To do this we use xscale=stretch yscale=stretch><ret><margin left=0>align hstyle=center vstyle=center> to ensure the background is aligned in the correct position.
This is the full code to use for the background and this needs to then be place after the margin left value leaving no spaces.
xscale=stretch yscale=stretch><ret><margin left=0><align hstyle=center vstyle=center>
Step 3: Text colour
To finish, we then set the colour of the text (which is optional but it is recommended to be able to actually see the plate as the default is FF000000 which is Black). This is set by using this:
<color value=FF999999>
Step 4: Region code
Now the code part of it is complete, you must then write the text of your license plate which in this case was GN17 NBM and then finish up with the |country code to complete.
The final code for this example is:
license_plate: "<img src=/material/ui/lp/turkey/duty_rear.mat color=FFFFFFFF xscale=stretch yscale=stretch><ret><margin left=0><align hstyle=center vstyle=center><color value=FF999999>GN17 NBM|uk"
Which looks like this in-game:
Option 2 - Other Styles
Blue Background:
The blue Turkish plate background uses this code:
/material/ui/lp/turkey/police_rear.mat
and looks like this:
The entire line of code for this is:
license_plate: "<img src=/material/ui/lp/turkey/police_rear.mat color=FFFFFFFF xscale=stretch yscale=stretch><ret><margin left=0><align hstyle=center vstyle=center><color value=FFFFFFFF>GN17 NBM|uk"
Different Countries:
An example of using a different country is this example of Luxembourg:
|luxembourg
and looks like this:
The entire line of code for this is:
license_plate: "<img src=/material/ui/lp/turkey/duty_rear.mat color=FFFFFFFF xscale=stretch yscale=stretch><ret><margin left=0><align hstyle=center vstyle=center><color value=FF999999>OLIOAK|luxembourg"
Other Backgrounds:
Option 1 is aimed at using a basic simple white image to create a basic background whereas Option 2 is aimed at using the two coloured Turkish plates with the plate fading background and border which are already in the game files, however, it is possible to use any .mat image found in the game files as long as you use the correct file path after '<img src=' meaning it is therefore possible to dig into the game files and find textures that allow for even more different colours.
Thank you for taking the time to read this guide and feel free to share any comments you have about this guide or any additional textures you've found that work well
and I would LOVE to see screenshots of your creations you've made with the help of this guide! ?
I do hope this guide helped and provided a better understanding of how the license plates work in-game and the ability to customise them further.
I understand that this guide could've been simpler by providing the final code for those who are not bothered and just want the final result, however, I wanted to provide a step by step instruction to actually help readers have a better understanding of how it exactly works line by line.





 @Patriot Trucking @Kiv.


 .
.











 @t_bag @PatriotTrucking













![[ETS2MCG] YANG ZHE](https://forum.truckersmp.com/uploads/monthly_2023_08/imported-photo-181263.thumb.jpeg.9282547e781098625a84755bc9395da4.jpeg)






















![[MCG] Kien Giang](https://forum.truckersmp.com/uploads/monthly_2024_03/imported-photo-98211.thumb.jpeg.db1883aca6314f9e0114ca932bf1d1c3.jpeg)


